Framework File Checker is an apparatus made to help if Windows decays to run normally in view of the framework being ruined. It typically gets the issue explained by finding and recuperating debased or missing framework records to the working state. Be that as it may, this device isn’t functioning admirably as we have anticipated constantly.
An extending measure of clients is expressing that they get “Windows Resource Protection couldn’t play out the mentioned activity” blunder message while performing “SFC/scannow” order.
In case you’re upset by this issue, don’t stress. You can fix it with our assistance here.
There in excess of scarcely any approach to understand this, yet we will show four arrangements which are relied upon to take care of your concern without any problem.
4 Ways To Fix Windows Resource Protection Could Not Perform The Requested Operation Error
Solution 1: Run SFC in Safe Mode
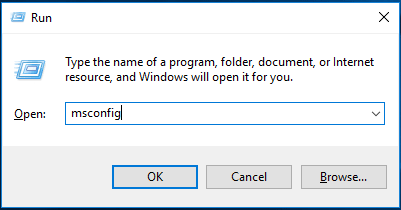
- Step 1: Press the Window Logo Key and at the same time press R Key to open the Run box.
- Step 2: Type MSConfig and then press the Enter key.
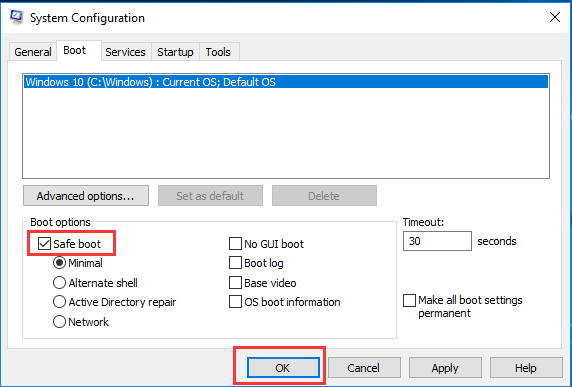
- Step 3: Check the box On the side of the safe boot and then click ok.
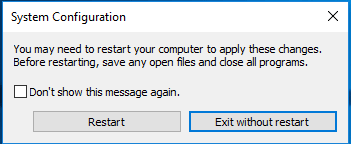
- Step 4: Now click the Restart when prompted by System Configuration.
- Done: Your Windows will be presently booting into protected mode. Run SFC/scannow to identify if it is running appropriately or not.
Also, Check How To Speed Up Your PC
Solution 2: Run CHKDSK
On the off chance that there were mistakes on your hard drive, SFC would likewise fall flat. CHKDSK can check the honesty of your hard circle and fix different document framework blunders. Be that as it may, running chkdsk can take care of the issue of “Windows Resource Protection couldn’t play out the mentioned activity” Follow below-mentioned steps.
- Step 1: Press Windows key and “cmd”.
- Step 2: Right-click on the search results and then Run as Administrator.
- Step 3: When asked for User Account Control, Click Yes. For a situation where you are requested to enter your administrator password, ensure you enter it accurately.
- Step 4: Type “CHKDSK:/R” in the command prompt window and then press Enter key.

- Step 5: When asked for schedule checking the disk, now type Y and then press Enter key.
- Step 6: Restart your PC, wait patiently until the CHKDSK is completed to check disk and fix the detected errors.
- Step 7: Run SFC again to check whether it is running appropriately now or not.
Solution 3: Modify The Security Descriptors On The Winsxs Folder
If the “Windows Resource Protection could not perform the requested operation” error message is still popping up, it implies that the issue has nothing to do with the disk failures. Then continue to check another potential cause – the SFC utility cannot access the winsxs folder (C:\Windows\winsxs) because of some issues with the folder’s security descriptors.
- Step 1: Open the command prompt by following the above steps.
- Step 2: In the Command Prompt window, Type “ICACLS C:\Windows\winsxs” and press the Enter key.
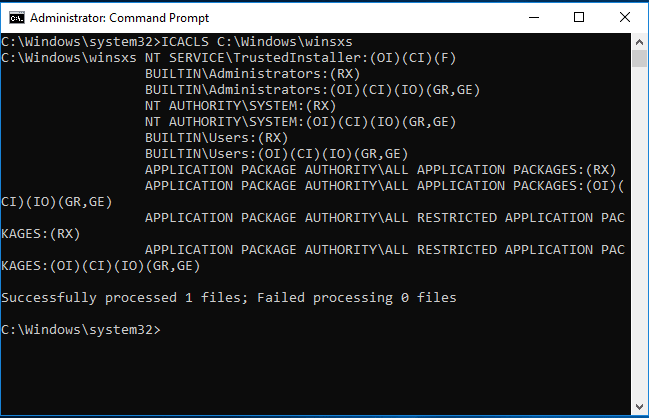
- Step 3: Anticipate until the command is executed, then close the Command Prompt.
- Step 4: Reboot your machine and run SFC again to verify if the issue has been resolved.
Also Check How To Reset Windows 10 Without Losing Data
Solution 4: System Reinstall
If none of the solutions worked positively for you, you can try to reinstall the system. It is the fastest way to resolve the “Windows Resource Protection could not perform the requested operation” error:
- Step 1: Go to the Microsoft Media Creation Tool window and select the Download tool now option.
- Step 2: Accept the license agreement.
- Step 3: Keep the default which is to Upgrade your PC and click Next.
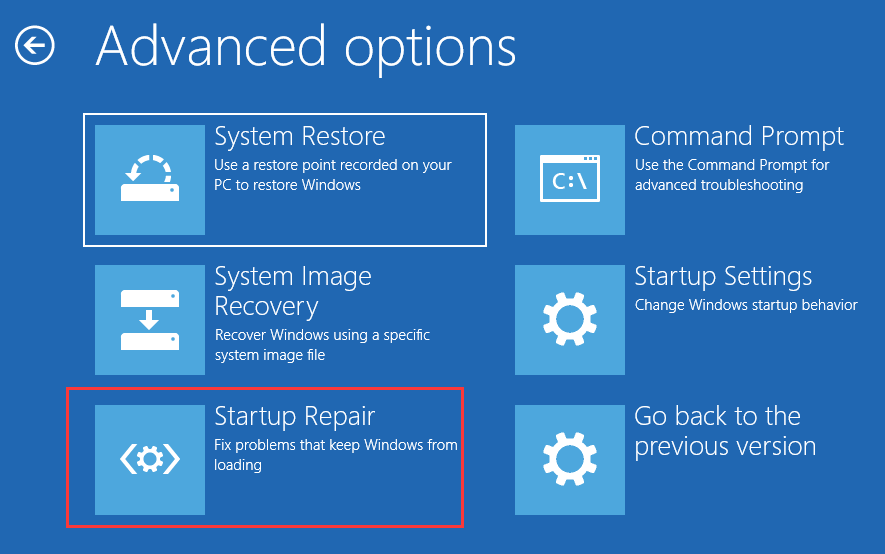
- Step 4: Now just click repair your computer and follow whatever is prompted in order to complete the process.
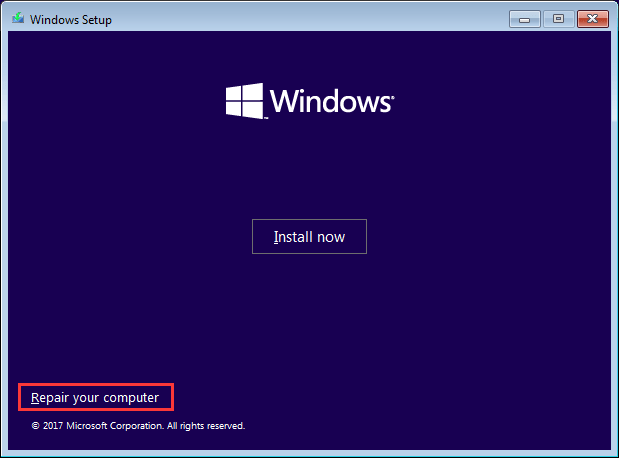
- Choose Troubleshoot in the popup and click Advanced options.
- Now select the startup repair and wait to be completed.